Creating the Program Template
Create Program Templates to save time when programming the QSR drum synthesizer.
Before you begin
- Review the general concepts presented in this Manual.
- Determine your system configuration, download the software, and assemble your hardware.
- Verify communication between the QSR and QS Edit Pro.
- Familiarize yourself with Programs and Mixes, including the Program controls available through QS Edit Pro.
About this task
In this topic, you will learn basic techniques used to edit Programs while creating a Program Template. The template will simplify creation of custom Programs. I recommend that new users work through the steps below to develop an understanding of QSR Program drum sound editing.
You will create a Program Template with all settings initialized and ready for editing. If you have difficulties with the procedure, you can download the Program Template file using the link at the end of the page.
Procedure
-
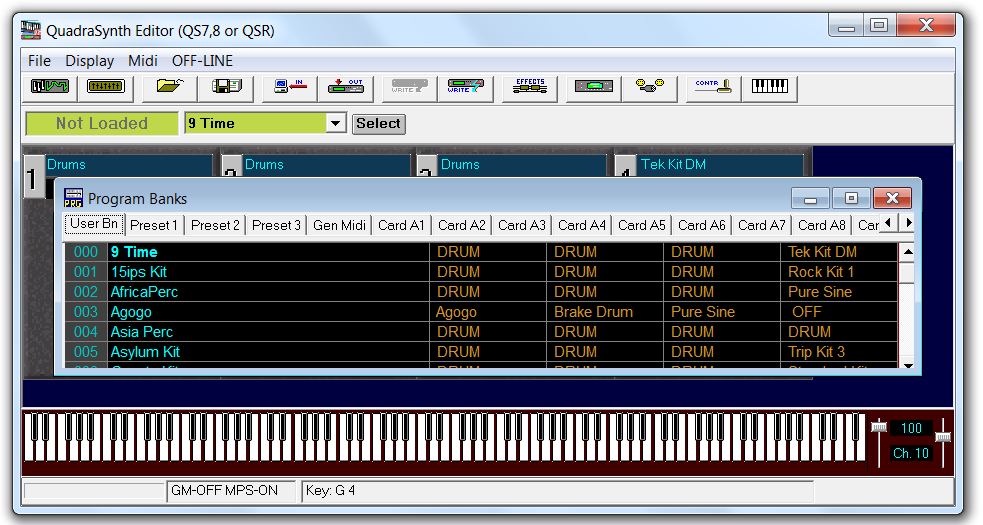
Click the Select button to open the Program
Banks window.
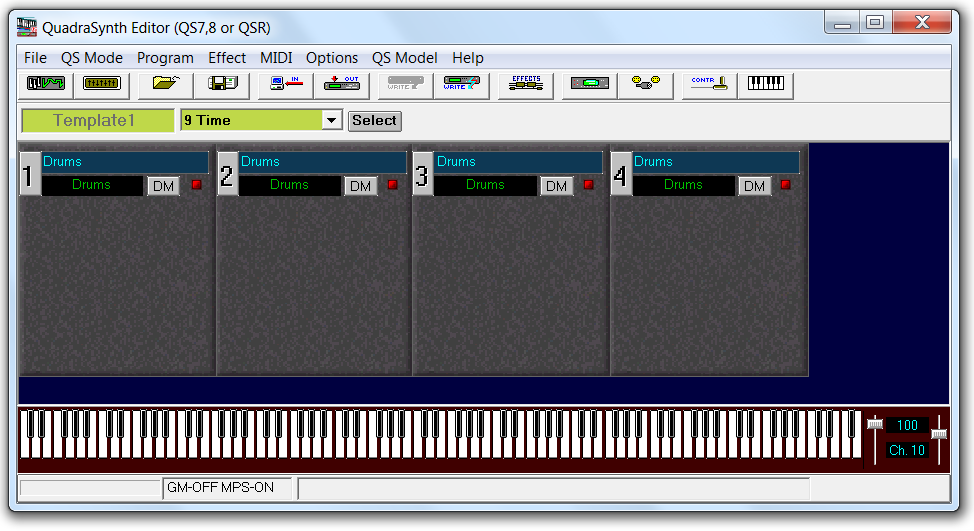
-
Verify that QS Edit Pro displays the Program Mode window
shown below. The "9 Time" Program layers should appear.
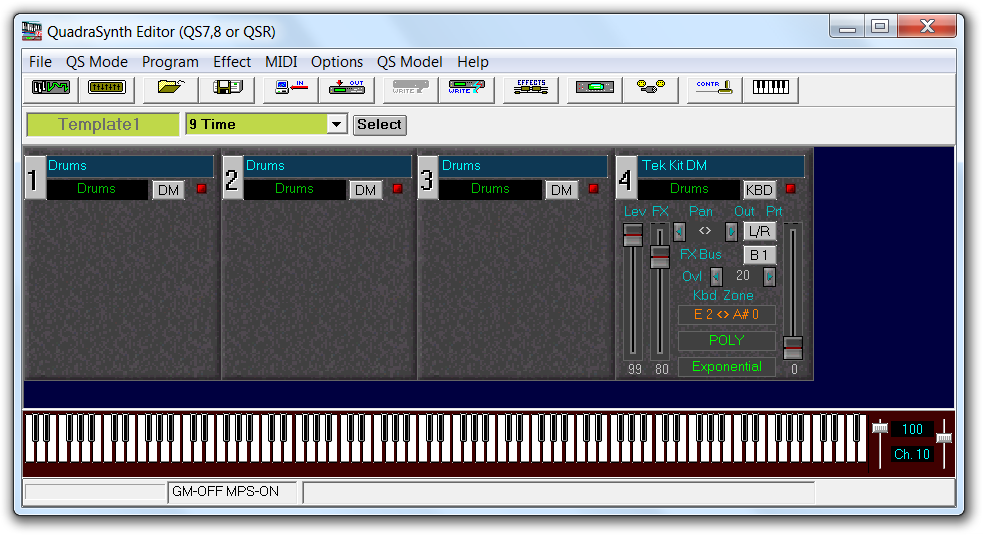
-
Click the KBD button on sound layer 4. The button legend
will change to DM, indicating the layer is now in Drum
mode.
-
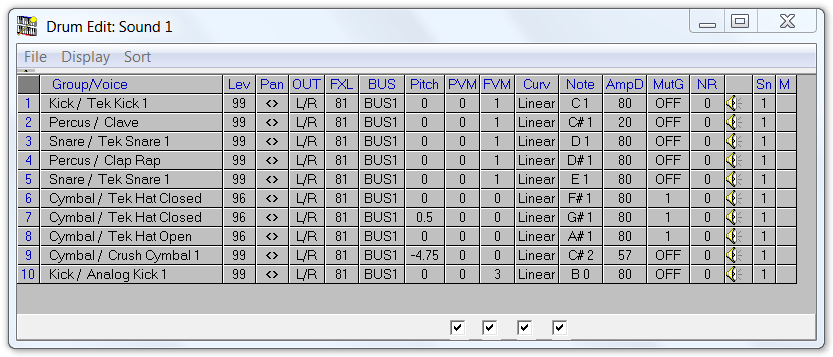
Click the sound layer 1 button to open the
Drum Edit window.
-
Click to add all sound layers to the Drum Edit
window.
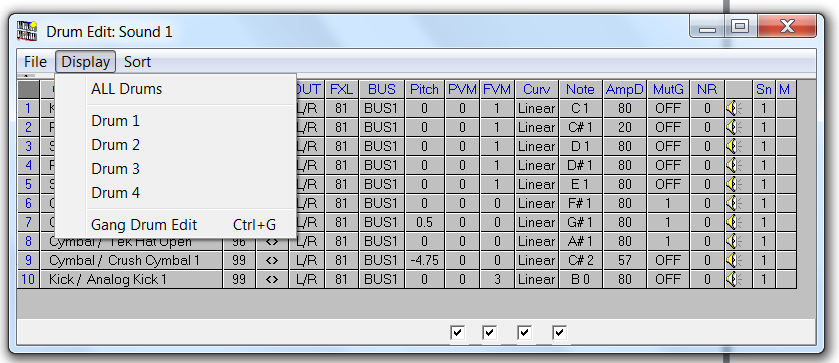
Note: Only those sound layers that have been set to Drum mode are shown in the Drum Edit window. -
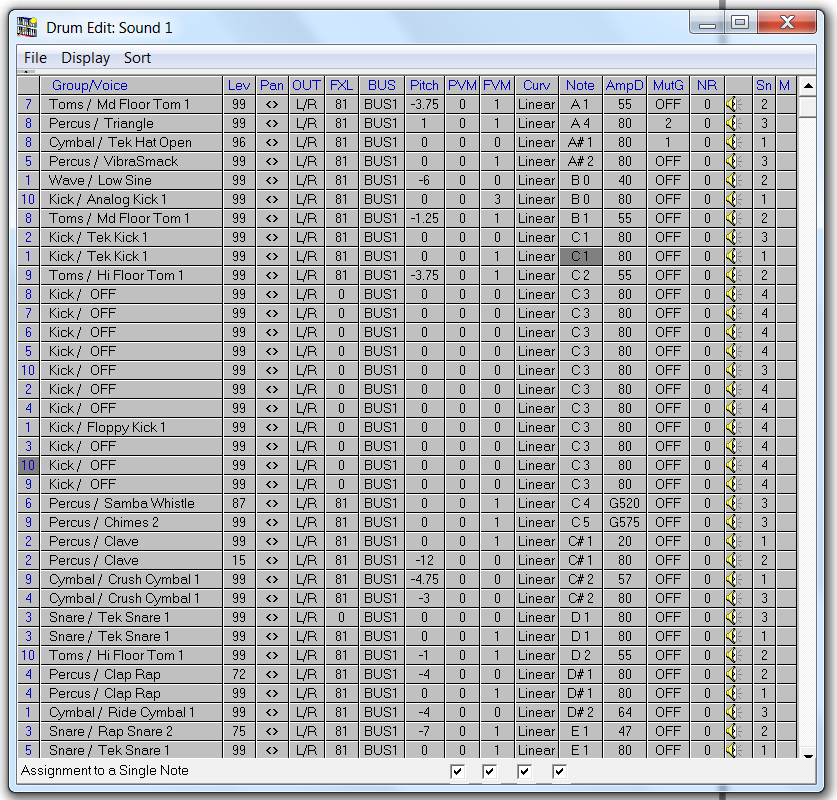
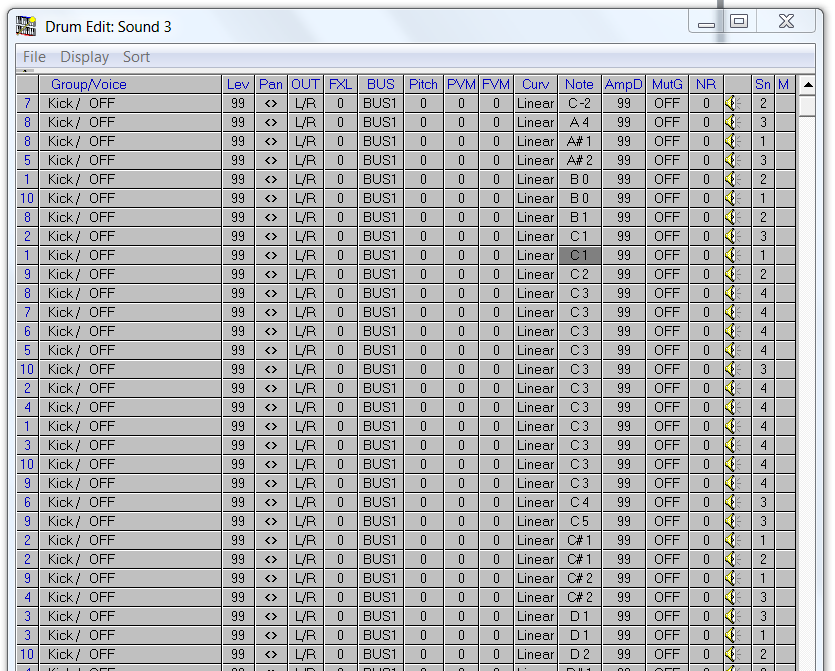
Click one of the Note cells in the window, then click
Sort to reorder the table by note number.
-
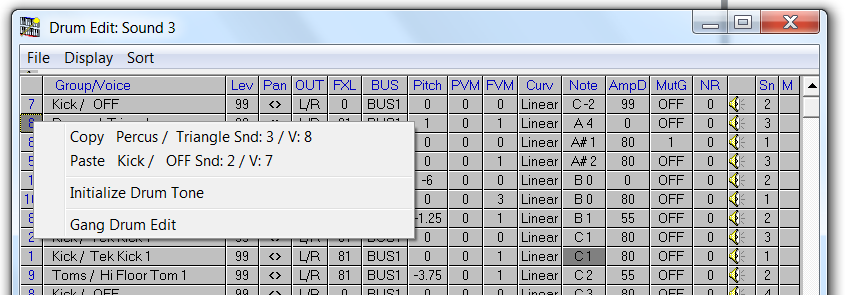
Choose one of the sound slot entries where the
Group/Voice cell is set to "Kick/Off". Double-click
the Drum sound Slot Number cell in the first column of
that row to open a pop-up menu.

Note: The "Kick/Off" sound is an empty sample that produces no sound. -
On the first row of the Drum Edit window, double-click the
Slot Number cell to open the pop-up menu again.

-
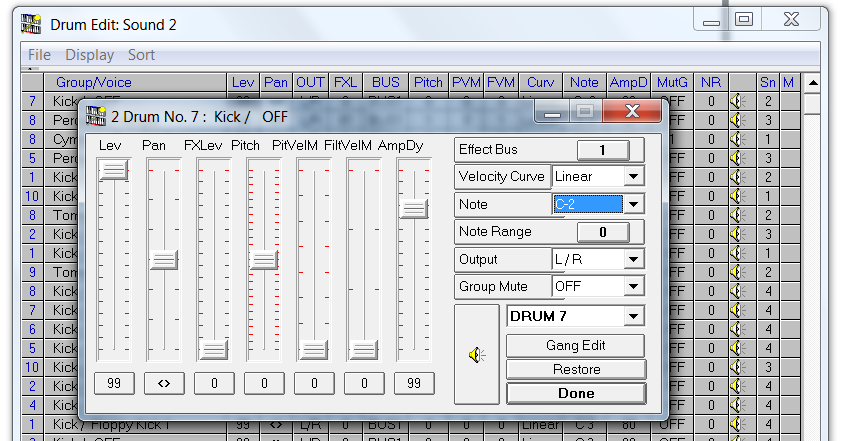
Click the Lev cell in row 1 to open the Drum
Sound Editor window. Change the AmpD
setting to 99 and change the Note to C-2. Click
Done to save the changes and close the window.
-
Verify that the settings in row 1 match the figure below, then press
STORE twice on the QSR front panel to save the
edits.

-
Double-click the cell in the first column of row 1 to reopen the pop-up menu,
then click Copy Kick/OFF Snd:2 / V:7.

-
Double-click the cell in the first column of row 2 to open the pop-up menu, then
click Paste Kick/OFF Snd:2 / V:7 to overwrite the
parameters in that sound slot.
-
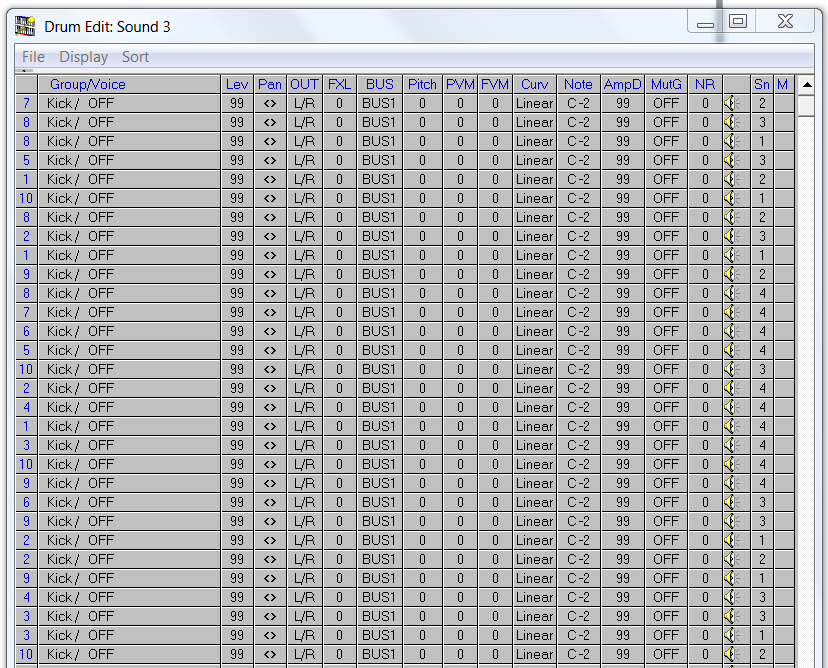
Repeat the previous step, pasting the initialized parameters into all 40 rows
of the Drum Edit window.
-
Double-click the Note cell in each row and change the
note to C-2. Also check that the other parameters on each
row are identical. Correct any discrepancies. After completion, close the
Drum Edit window.
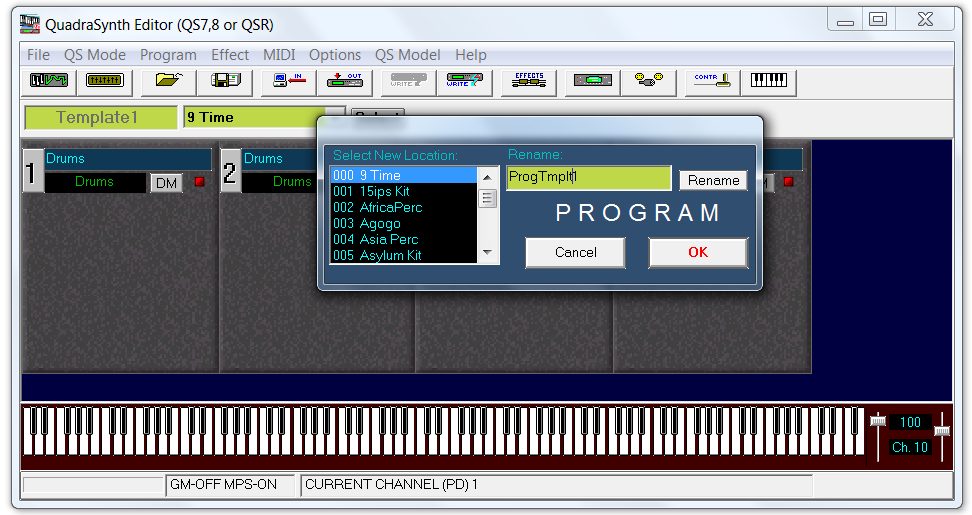
-
In the Program Write window, type
ProgTmplt1 in the Rename
field, then click OK.