Processing Sample Files
Use third-party software to process sample files before creating the Sound Bridge project.
Before you begin
- Audition the built-in samples, Programs, and Mixes in the QSR, making notes about the built-in samples you will use.
- Obtain or create custom sample files you want to use.
- Choose the third-party software tools that you will use to process sample files.
- Have a good understanding of the operation of your DAW software, plug-ins, or mastering tools.
About this task
This topic presents an example procedure for processing sample files for the QSR Drum Synthesizer. A comprehensive discussion of sample file creation and processing is beyond the scope of this Manual.
After identifying sample files that meet your needs, place the files in folders for easy retrieval. I recommend using a folder structure that separates kick samples, snare samples, tom samples, cymbal samples, and percussion samples.
This topic describes the use of Wavelab Elements, a powerful mastering software application, to perform the following tasks on a kick drum sample:
- resampling to change the sampling rate and/or bit depth,
- applying EQ and limiting,
- trimming the samples, and
- mixing a stereo sample to mono.
Procedure
-
Open the original, unprocessed sample file in your software application.
The image below shows the "21HDSSLKICK" sample waveform in Wavelab.
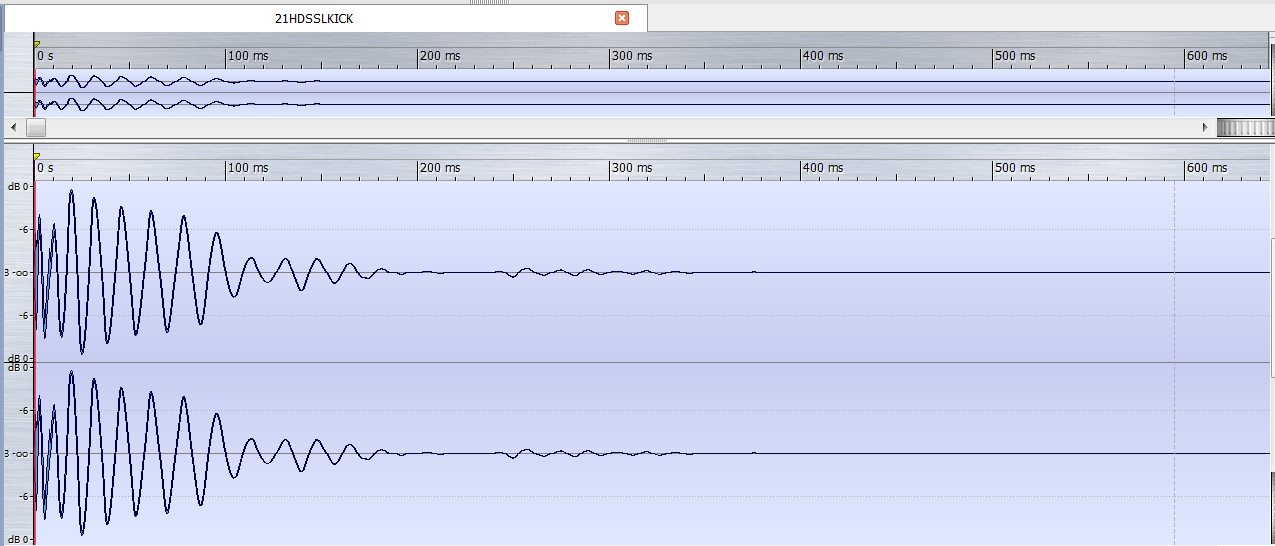
Notice that this is a stereo kick sample. Mono files are directly compatible with the QSR and do not require splitting of the sample into Left and Right channel files prior to use. We will pre-process the sample to mix the stereo channels to a single mono channel. -
Check the audio file properties to verify compatibility with the QSR. Refer to
the Sample File Formats topic for compatibility information.
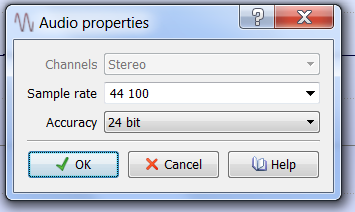
The audio file properties for this sample are shown below. The 44.1kHz sample rate and 24 bit depth are compatible with the QSR. For a kick sample, you may want to convert to a 16 bit format to save storage space.
-
Set rendering parameters.
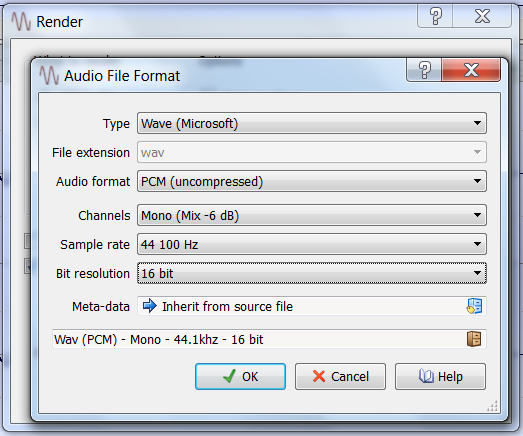
The Wavelab Elements rendering parameters are shown in the image below. I have configured the software to render a mono file with 16-bit resolution.
-
Click OK to save the rendering settings, then render the
file. Use an appropriate file name to indicate this is a processed sample (e.g.,
21HDSSLKICKmono.wav).
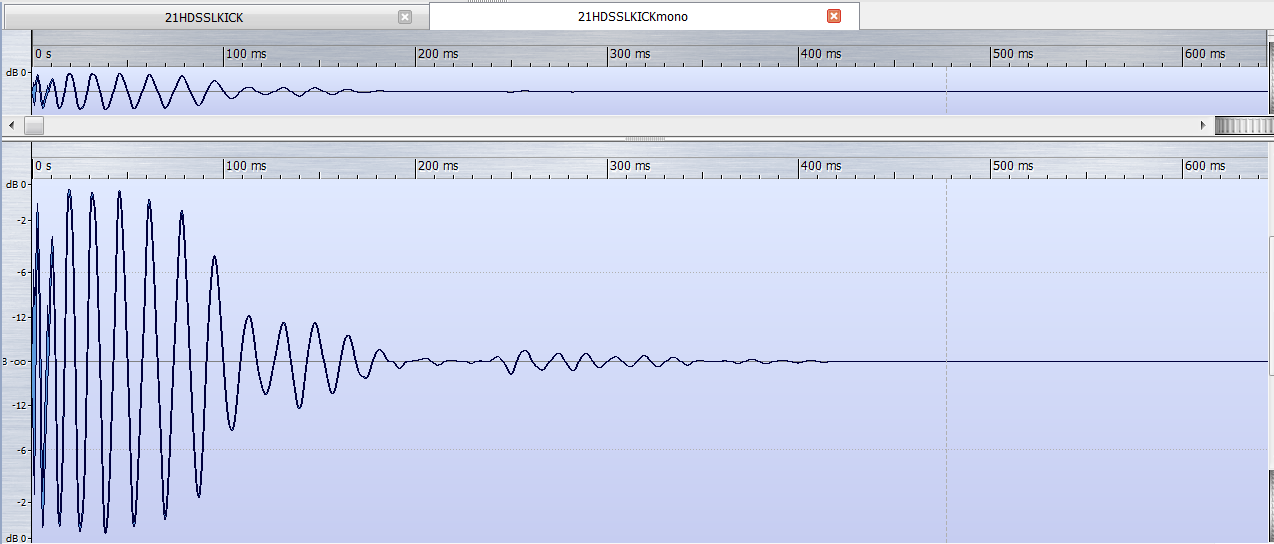
The resulting waveform for the mono kick sample is shown below.