Creating the Sound Bridge Project

Create Sound Bridge Projects to control which custom samples, Programs, and Mixes are saved to the QSR's Flash RAM Card.

Before you begin

  • Install and configure Sound Bridge software.
  • Prepare your custom samples.
  • Back up the User bank to your computer.
  • Ensure that you have a solid understanding of the Sound Bridge user interface and concepts such as Project Groups.
  • Launch Sound Bridge.

About this task

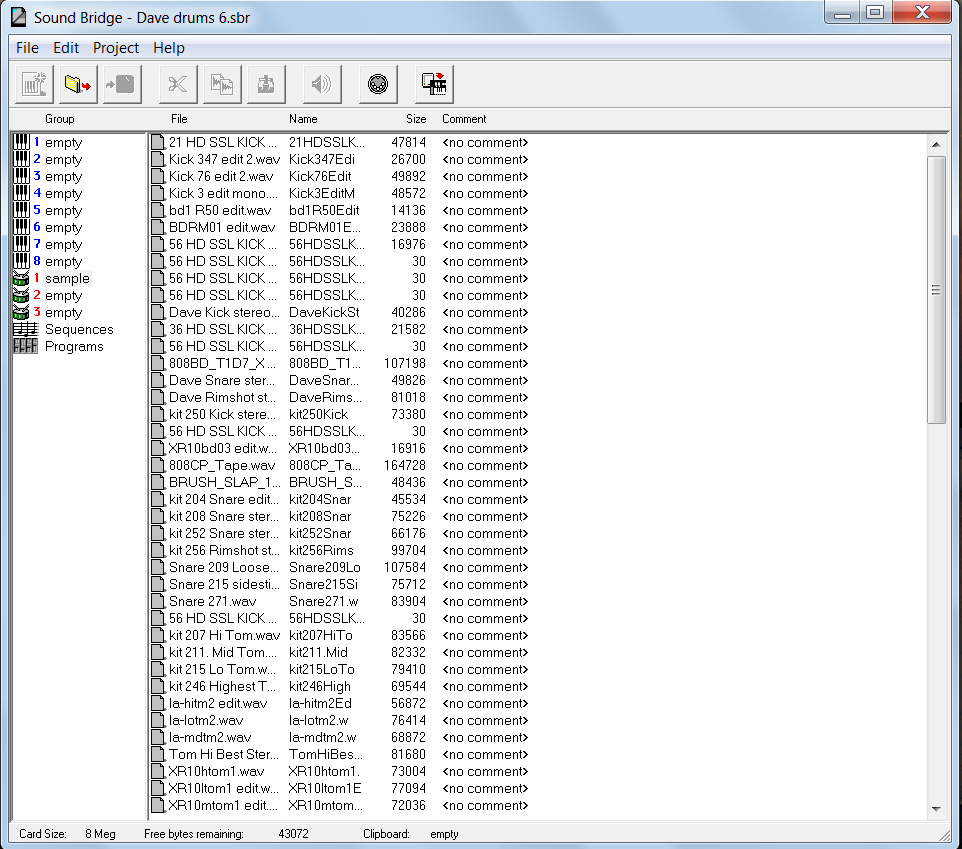
A Project is any collection of instruments, samples, Programs, Mixes, and sequences that you choose to organize using Sound Bridge. Sound Bridge offers a high degree of flexibility, in terms of how data is organized for use in the QSR. Many of the features in Sound Bridge are designed for keyboard synthesizers and do not apply in this context. This procedure describes features and procedures relevant to programming the QSR Drum Synthesizer.

Typical drum synthesizer Projects will use most of the available storage space for sample files. A SYSEX file will be included in the Project, containing the Programs, Mixes, and Effects that will be transferred to the User bank from the Flash RAM card.

Procedure

  1. Create a new Project or open an existing Project for editing.
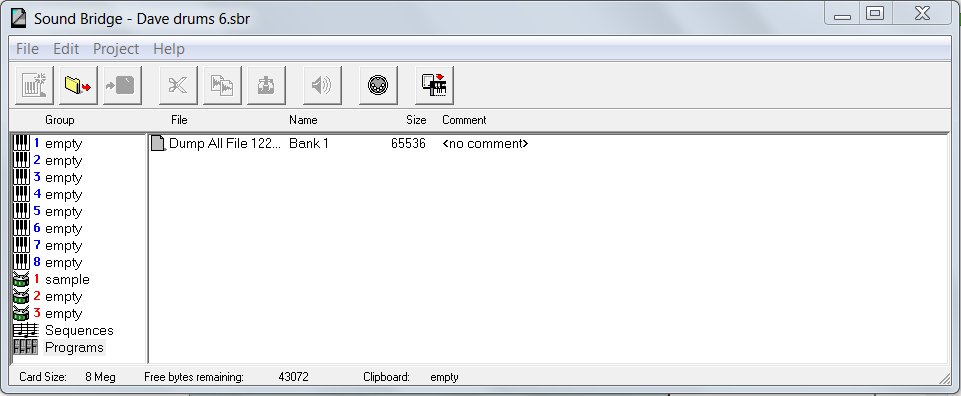
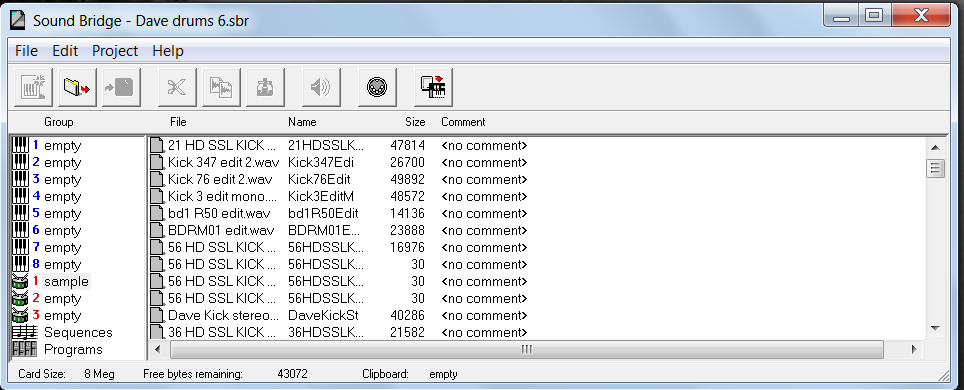
    The Project will appear in the Sound Bridge window.

  2. Click on the Project Group to be edited.
    There are 8 Keyboard Groups, 3 Drum Groups, a Sequences Group, and a Programs Group. Drum samples are typically stored in the first Drum Group. The Programs Group is used to store the Dump All Sysex file containing data from the User bank backup. View the contents of a Project Group by selecting it in the left pane.
  3. Click on File > Add Files.


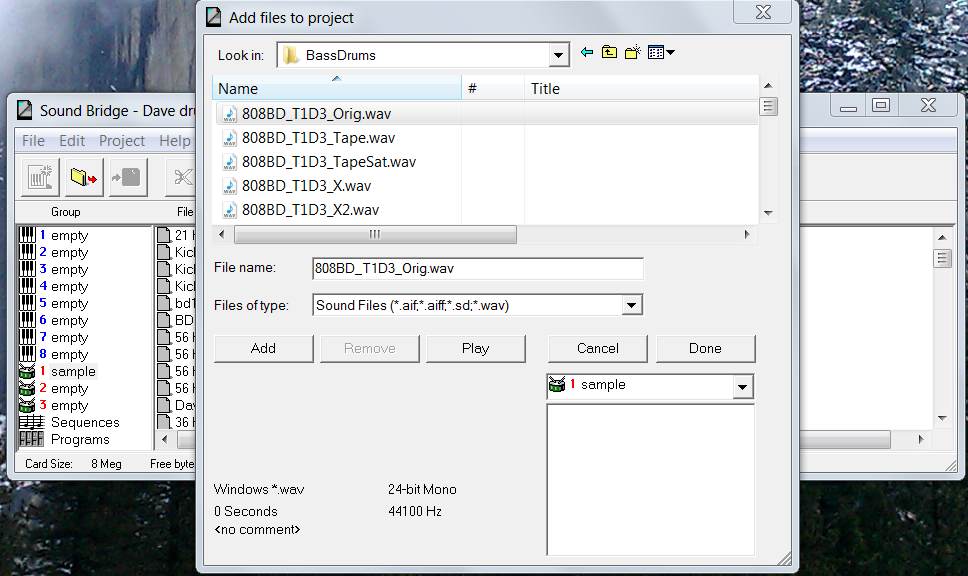
    The Add Files to Project window will appear.
  4. Navigate to the folder containing the data files to be added to the Project Group.
    The file explorer section at the top of the Add Files window works much like Windows Explorer.
  5. Select the Files of Type category from the drop-down menu.
    When the Sound Files type is selected you will have the option of choosing the Project Group that will hold the sound file. Instrument and Drum Groups will be available in the drop-down menu in the lower right hand corner. Use one of the Drum Groups for all drum samples, or separate drum groups (such as drums and cymbals).
  6. Select the desired data file and click Add.
    The file will be added to the list in the lower right corner.
  7. Repeat until you have selected all the data files to be added to the Project Group. When finished adding data files to the list click Done.
    When adding files to the Project, check the Free Bytes Remaining value at the bottom of the window to ensure that the Project will fit in the available card size.
  8. Repeat the procedure for any additional Project Groups that need to be edited. Then click File > Save.

Example

In a typical Drum Sequencer application you will work with sound files (e.g., .wav files) and Dump All Sysex files (.syx or .qs format files). Sound files will normally be imported into Drum Group 1, which can be been renamed as "Sample." The Programs Group will normally hold one Dump All Sysex file that contains the data backup from the QSR User bank.


What to do next

Once you have added all required files to the Project you can send the Project to the QSR.